Did you recently buy a Canon printer but are facing trouble while establishing a connection between two devices? If you are hunting for solutions on how to connect to a Canon printer, we are here to show you the correct path. Over the past few years, technology has made tons of updates, allowing electronic devices to become more genius. With the Canon printer's latest features, printing documents, excel sheets, or anything can be done within a few minutes.
Moreover, there are several ways of connecting Canon printers to devices that the user can easily complete their office or home use. In the further section of the blog, you will get the chance to learn about the methods in-depth and straightforward manner.
Method 1: With Wireless Bluetooth Connection
In addition, if you have a Mac computer but don't have any clue about how to connect to a Canon printer, then this guide is going to be beneficial for you. Take a look at the below steps to learn in detail about the method:
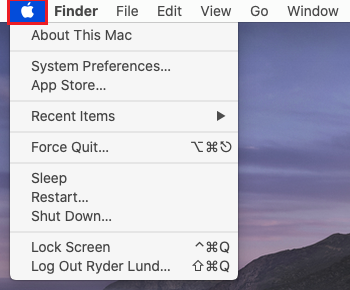
- First, turn on your Mac computer and click the Apple icon on the left side of the screen.
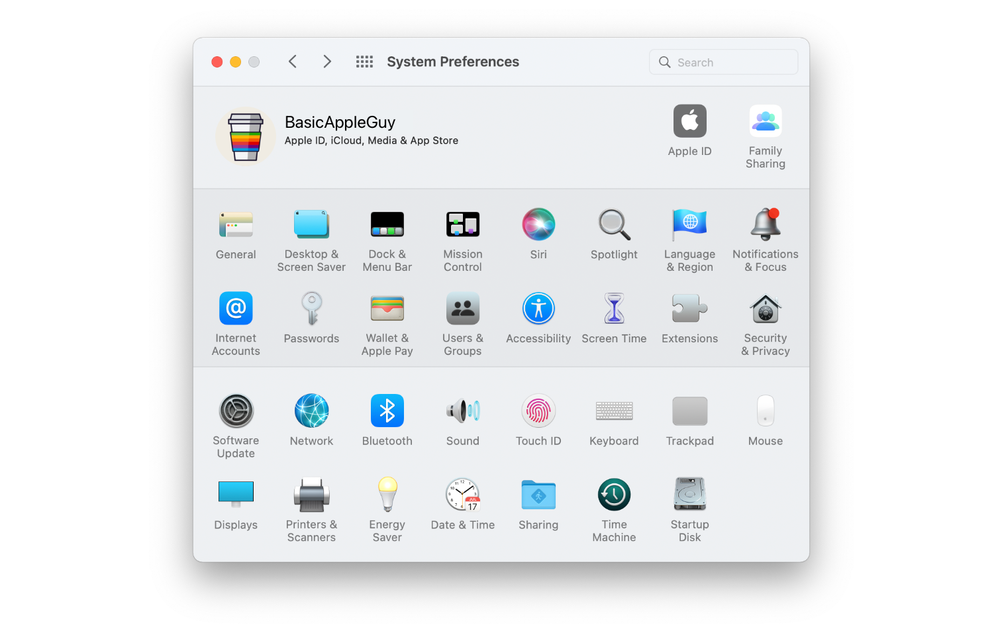
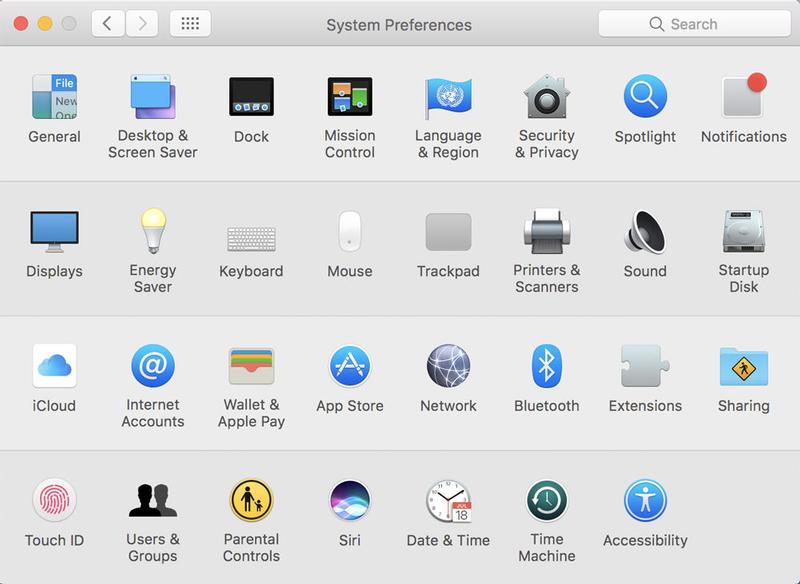
- Under the Apple drop-box, press the System Preferences, and you will land on the new page.

- After reaching the page, press the Software Update and check whether the Bluetooth software list is up-to-date or not.

- Next, turn on your Mac Bluetooth and switch on your Canon printer.

- Now, start looking for the Bluetooth printer button and hold it for a few seconds.
- After that, search for nearby printing devices and press the Canon printer button.
- Further, move to the printer's screen and enter the code displayed on the screen.
- Finally, confirm your device connection with the printer by running a printing test.
Apart from the Bluetooth method, the user also gets the option of connecting their Canon printer via the WPS button.
Method 2: Using the WPS Push Button
In addition to the method, this section will help you understand how to connect to a Canon printer via the WPS button.
- Begin the method by turning on your Canon printer and ticking the "i" with a line striking through it.
- After that, tick the Wi-Fi option given under the LAN Settings list.
- Next, press the Settings > Wi-Fi Setup > WPS (Push button mode).
- Following this, click the OK button and hold down the WPS button on your router.
- Now, hold on to the button for a few minutes and tick the OK button visible on your screen.
- At last, the method of wirelessly connecting Canon printers will come to an end.
If you are thinking that these two methods will be enough, then you are wrong. Below, you will come across another method of connecting Canon printers to devices.
Method 3: Via a Wi-Fi Network
Furthermore, if you have a Canon wireless printer, then you can easily connect it via Wi-Fi. For that, you can easily access the printer for different activities.
- First, you've to plug the power cord into the socket and switch on the Canon printer.
- At the Canon printer’s Control Panel, choose Menu > Network Settings.

- Now, you need to select Wireless LAN & press the OK button.

- Afterward, tap on your network and enter the password inside the space.
- Finish the process by ticking the OK button appearing in front of you.
Here you go; your Canon printer is now connected with devices and all ready to print, scan & fax the documents.


