


If you use your HP printer frequently, you may face problems with your printed documents, like faded text, smudges, and ink smears. This shows that there is an issue with your ink or its levels in the printer. Now, if you are wondering how to change ink cartridge in HP printer, then do not worry. It is a simple process.
Changing and installing a new ink cartridge is crucial because it affects the quality and reliability of your prints. It is also important to install the correct printer driver. Read the blog and follow the step-by-step process.
How to Put Ink Cartridge in Your HP Printer
Whether you just got a new printer or need to replace an empty cartridge, installing an ink cartridge is a quick process. Proceed to read the below steps and learn how to change ink cartridge in HP printer.
Step 1: Open the Ink Tray
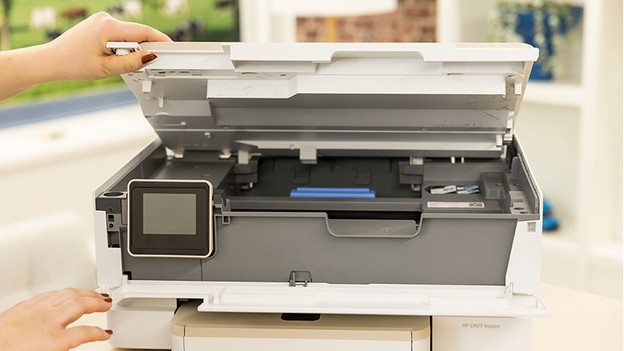
Turn on the printer, and when it has cooled down, open the ink cartridge access door and remove the empty cartridge. Then, check the ink levels to see if it needs to be replaced. The ink cartridge is located on the side of the printer.
Step 2: Remove the Old Cartridge
Wait for some time so that the ink cartridge holder can move to the center of your printer before you move on with how to change ink cartridge in HP printer. Press down the ink cartridge and carefully remove old and empty ink cartridges from the holder. Dispose of the old cartridge properly to prevent any leakage or contamination.
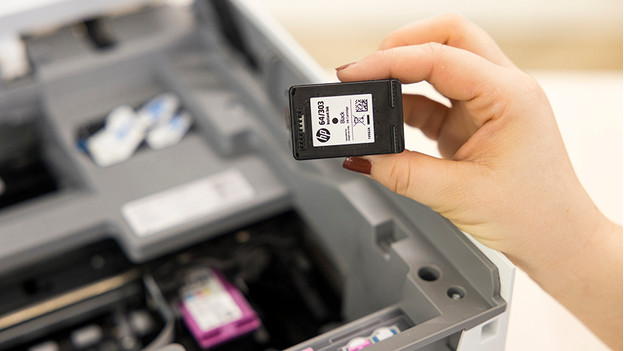
Step 3: Take the New Cartridge
In this step, you will learn how to put ink cartridge in HP printer. You have to install a new cartridge, so take the new cartridge that you want and remove the plastic tape and cover from it. When removing the tape, make sure the black tape stuck on the top of the cartridge, which has the label pulled, is removed. Put your ink cartridge into the holder and slowly press it. If you hear a clicking sound while installing the ink, then it has been installed correctly. Follow all the color patterns, install new cartridges, push them in the right slot, and close the printer lid.
Note: If you use ink cartridges, the printer displays a notification stating that you are using genuine ink. However, if you use an ink cartridge from another brand, you will receive a message saying that non-genuine HP cartridges have been installed.
Step 4: Close the Door
You are almost at the end of the process; close the ink cartridge door carefully. Close it slowly and smoothly to avoid breaking the front cover or even displacing the printer’s components.
Step 5: Complete Installation & Test HP Cartridge
Once your cartridge is physically installed on the printer, you will get a confirmation message that the ink cartridge has been installed. Hit the Confirm icon and allow the printer to access the system with the new cartridges. After installation, load sheets into the printer and click the Okay button so your printer can align the paper for printing tasks. It is time to check whether your printer can print.
Tips to Follow When Changing Ink Cartridges
After following this step-by-step process of learning 'how to change ink cartridge in HP printer', most problems can be resolved without too much trouble. Knowing these issues are common and often easily resolved is helpful.
Gently tilt the cartridge back and forth to ensure even ink distribution. Remove the protective tape and cover from your ink cartridges.
Always use compatible and appropriate ink cartridges to ensure the printer performs at its best.
Do not touch the copper-colored contact part of the cartridge, as this can damage it.
Before installing a new ink cartridge, ensure you have the correct one for your printer model.
Summary
After reading this blog post on 'how to change ink cartridge in HP printer', you will know that it is a simple process that can help keep your printer running smoothly. By following the instructions in the above guide, you can easily replace the cartridge and troubleshoot any issues that may arise.
Every HP printer user should know how to change the ink cartridge in their printer. Remember to use genuine ink cartridges for longevity and to use your printer effectively.
